API Reference
API Authentication
All requests to the Waitlister API must be authenticated using an API key. This document explains how to obtain, use, and manage your API keys.
Types of API Keys
Waitlister has two kinds of API keys. Both are sent in the same X-Api-Key header.
| Account API key | Per-waitlist API key | |
|---|---|---|
| Format | wl_acct_… | wl_… |
| Scope | Every waitlist your account owns | One waitlist |
| Can create waitlists | Yes (POST /api/v1/waitlists) | No |
| Plan requirement | Any plan (subscriber-data endpoints require Growth+) | Growth plan or higher |
| Where to get it | Settings → API keys | Waitlist → Settings |
Account API keys are the recommended option, especially for AI agents and multi-waitlist setups: one key works everywhere, including the account-scoped Create Waitlist and List Waitlists endpoints. On free plans, an account key can create waitlists, add subscribers, and read stats at reduced rate limits — managing subscriber data (list, get, update, delete) requires the Growth plan or higher.
The full account key is shown exactly once at creation — copy it immediately. You can revoke keys at any time from the same page.
API Key Authentication
API keys provide a simple way to authenticate with the Waitlister API. Per-waitlist keys are associated with one specific waitlist; account keys work on every waitlist you own.
Authentication Header
Include your API key in the X-Api-Key header with each request.
X-Api-Key: your-api-key
Example request with an API key.
curl -X POST "https://waitlister.me/api/v1/waitlist/{waitlist-key}/sign-up" \
  -H "Content-Type: application/json" \
  -H "X-Api-Key: your-api-key" \
  -d '{
    "email": "user@example.com"
  }'
Getting Your API Key
Account API Key
- Log in to your Waitlister account
- Go to "Settings" → "API keys"
- Enter a label and click "Create API key"
- Copy the key immediately — it's shown only once
Per-Waitlist API Key
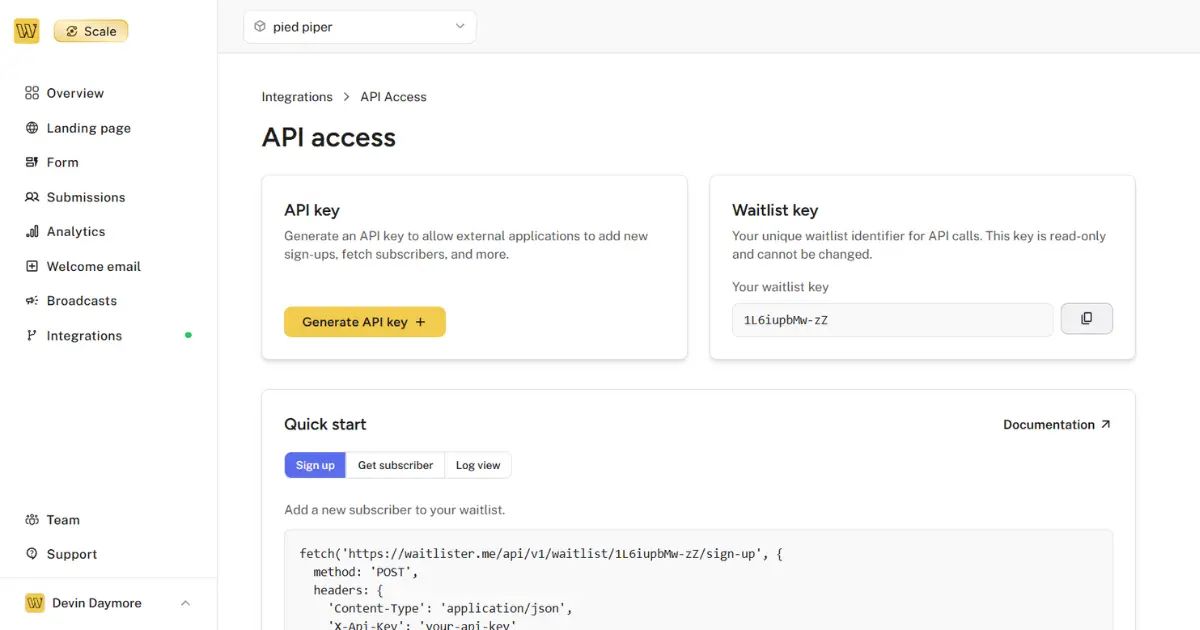
To obtain an API key for a single waitlist, follow these steps.
- Log in to your Waitlister account
- Go to the "Integrations" page, and then click "Manage" on the "API access" card
- On the "API key" card, click "Generate API key"
API Key Security
Your API key grants full access to your waitlist via the API. To keep your waitlist secure, follow these guidelines.
Best Practices
- Never expose your API key in client-side code (like JavaScript running in a browser)
- Store your API key securely as an environment variable or in a secure secrets manager
- Use a server-side application to make API requests that require your API key
- Implement proper error handling to avoid exposing your key in error messages or logs
- Rotate your API key regularly
Regenerating Your API Key
If you believe your API key has been compromised, you should regenerate it immediately.
Account API keys: go to "Settings" → "API keys", revoke the compromised key, and create a new one.
Per-waitlist API keys:
- Go to the "Overview" page for your waitlist
- Click the API key value to open the API key modal
- Click "Regenerate API key"
- Confirm the action
Important: Regenerating or revoking an API key will invalidate the previous key. You'll need to update any applications or services using the old key.
Authentication Errors
If you encounter authentication issues, check for these common errors.
| Status Code | Error | Description |
|---|---|---|
401 | Invalid API key | The provided API key is incorrect or has been revoked |
403 | Insufficient permissions | Your plan doesn't include access to the requested endpoint |
429 | Rate limit exceeded | You've exceeded the rate limit for your plan |
Next Steps
Now that you understand how to authenticate with the Waitlister API, you can:
- Learn about API rate limits
- Explore the subscribers endpoints
- Check out the analytics endpoints